COMPUTER SERVICING I VIT203

This course will teach you the basics of computers

Computer technicians are in high demand. With an increasing number of computers used in both the home and workplace, there is a significant and ever growing demand for people to install, maintain and repair both hardware and software. While many computer courses teach programming, surprisingly few provide the type of training needed to be a competent and effective computer technician.


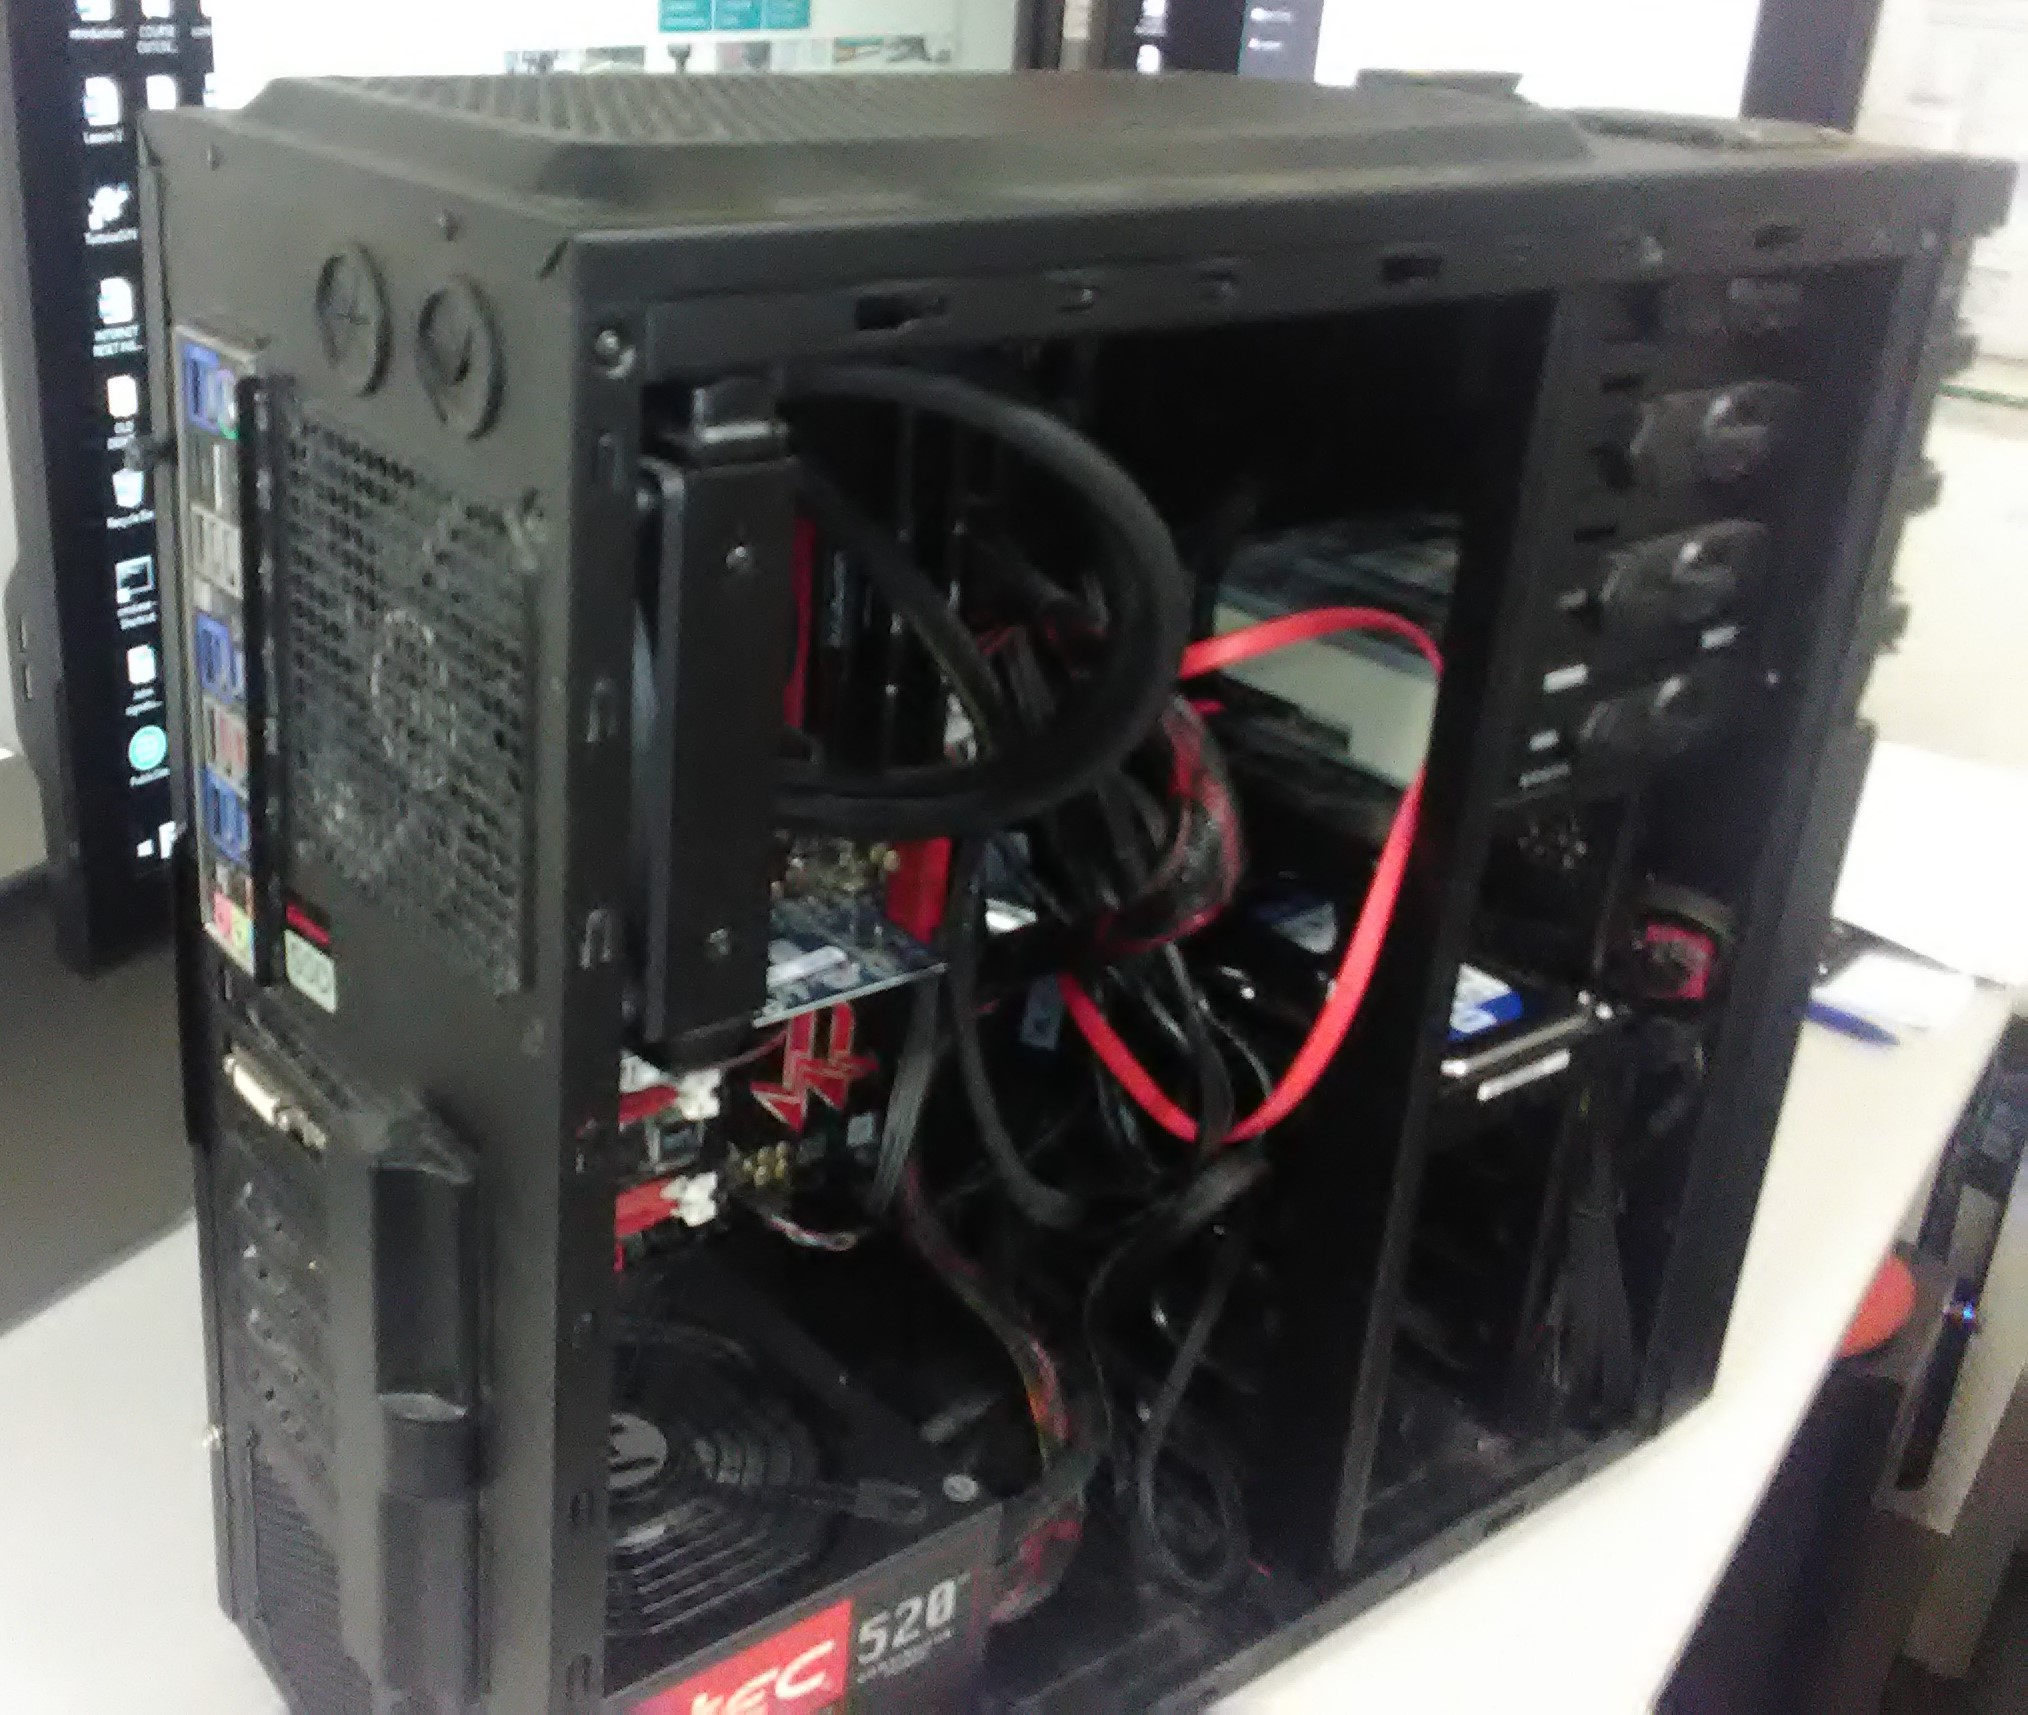
This course provides an introduction to servicing computers. It develops a broad and general understanding of repair and maintenance procedures that can be used at work or home, and in doing so provides a good starting point for anyone seeking a career in computer servicing. 

Learn the basics of computer repair and servicing 


9 lessons filled with easy to understand instructions

Screenshots of working examples

100 hours total study with up to  12 months to complete

No classes, submission dates or schedules!


Study Computer Hardware and Learn Computer Repair for Home or Workplace

  • Foundation Course for Computer Service Technicians
  • Enrol and commence study anytime
  • Learn from our team of university trained, experienced IT Professionals


Is this course right for me?

This course is for you if you are looking to work as a IT technician or a IT support specialist or just want to know how to fix your own computer if it has some problems.


COURSE STRUCTURE

There are nine lessons in total, as outlined below:


1. The computer workshop

Tools (A basic tool kit, More advanced requirements), Soldering, Workshop layout, Workshop management, Customer relations, etc.

2. Computer and workshop safety

Understanding electricity, Workshop safety procedures, Staff safety, Avoiding computer damage, Circuits, Measuring electricity -current, voltage, resistance, ohm's law, etc.

3. Hardware components

Identifying different hardware components (e.g. CPU, ZIF socket, Motherboard, I/O card,Parallel and Serial ports, IDE drive, CMOS, etc).

4. Different Systems & Basic Disassembly

Identifying and removing specific parts from a computer, distinguishing between different types of PC (eg. XT, AT, 386, 486, Pentium etc), disassembly procedure.

5. Peripherals

How to assemble peripherals (eg. mouse, printer, modem) for a computer system

6. System Assembly

Procedure for assembly/installation of main components.

7. Installation of software

Installing different software programs in computers, in accordance with manuals.

8. Computer Maintenance: An Introduction

Preventative and routine maintenance procedures.

9. Troubleshooting: An Introduction

Determining an error, hard disk problems, viruses, motherboard battery, bugs, other common errors and their remedies, when to call a specialist.


Example of a Lesson …. 

BASIC DISASSEMBLY

Lesson Aim

To be able to identify and remove specific parts from a computer, and to distinguish between different types of personal computers.


DISASSEMBLY PROCEDURES
Computers are disassembled for various reasons:

 To analyse the cause of system hardware problems.

 To upgrade a system, whether to add completely new parts or to change outdated or obsolete parts (upgrade).

From your previous work in this course you should by now be able to identify, and be reasonably familiar with, the basic components of the computer.

How to Dismantle and Reassemble a Computer
Note: These guidelines are to be treated as a general guide only as many systems differ considerably in design and component parts.

Preparation before Starting
There are a number of VERY IMPORTANT things that should be done before any disassembly work should be carried out. These include:

 ESD protection (refer to lesson 2).

 Recording physical and logical configuration of jumpers, switches and cable connections (use a notepad to write or draw information).
Record system set up and configuration of CMOS and BIOS. (Note that this must be done while the computer is switched on. If this information is unavailable then the risk of lost hard disk drive data is greater.

 Backup any data if necessary, especially if you need to format the hard disk.

 Ensure the power is switched off and the PC is unplugged from the power source.

 
Step 1

Removal of case or cover:

This can be achieved quite simply with the use of a screwdriver to undo screws from the back of the case. The case should slide off easily although as with all aspects of computer maintenance it should NOT be forced. Check to ensure that all screws have been removed if having difficulty.

Step 2

Removal of adaptor boards/circuit cards (video cards, sound cards, etc.):
If in any doubt of what goes where, a simple sketch or photo from your camera/camera phone will ensure that it all goes back together properly at the required time. Most adaptors will be connected by a screw to the case cover and by way of expansion slots into the motherboard. In addition, note all cables and switch settings – sketch them if unsure.

Step 3
Removal of hard and floppy disk and CD/DVD ROM drives:
Hard disk drives should be backed up before they are removed if the data they contain is important. Careful treatment of a hard disk drive will aid the process of saving stored data.

Floppy disk and hard disk drives are usually held in place by a number of small screws. They will also have a power cable and signal cables. Sketch the setup if necessary. Do not place the hard disk near any magnetic sources when storing as exposure to magnetic fields might result in data loss.

Step 4

Power supply:
The power supply is usually identifiable as an enclosed box that contains the fan and has many cables leading to required areas of the computer. When dealing with the power supply beware of safety issues! (See lesson 2.) Care should be taken when disconnecting wires on this and all other peripherals. Remove all the screws connecting the power supply to the CPU. Once that is done, the power supply should slide out easily. Grasp firmly from connectors and NOT the wires themselves.

Step 5

Remove the RAM chips:

First remove the RAM chips from the slot. Be careful when pulling the RAM chips out; do not touch the RAM surface as they are very sensitive to static electricity.

Step 6

Removing the motherboard:

First check and disconnect any remaining cables or wires. The motherboard will be connected to the internal case by way of screws and interlocking tabs called stand offs. Unscrew the screws and then slide the board so that the stand offs disengage.

These are the most basic procedures to be followed in disassembly. In order to reassemble the computer, extra care should be taken that connections are sound, without being unduly forced. If you can gain access to an old computer system and go through this procedure a number of times you will soon develop your ability and increase your confidence.


Main Components of a Computer Shop (Offering Servicing & Other Facilities)

  • Counter for sales, security of cash, goods and staff, dealing with customers.
  • Sales/service display.
  • Workbenches.
  • Adequate space, lighting and electricity (including work and storage areas).
  • Customer waiting area (optional but very useful).
  • Cash register/ credit card facilities.
  • Telephone.
  • Tools associated with computer repair (E.g.: Basic toolkit and driver software)
  • Dedicated staff to process online orders or online requests, if the workshop has a website, or if it has an email address dedicated to receiving client’s requests or orders.

Study online at your own pace


Using our modern online portal for study is a simple and effective way of learning.

Once enrolled, you will receive your online account to our login.training system that will give you all the lessons assignments and self-assessment tests so you can start studying straight away.


Get started today and make a difference

Simply click on the ENROL NOW icon at the top of this page